Español
Sales 866-884-6015
Not only will replacing your brake pads keep your car running smoothly, but it can also help keep your fiesta auto insurance coverage valid.
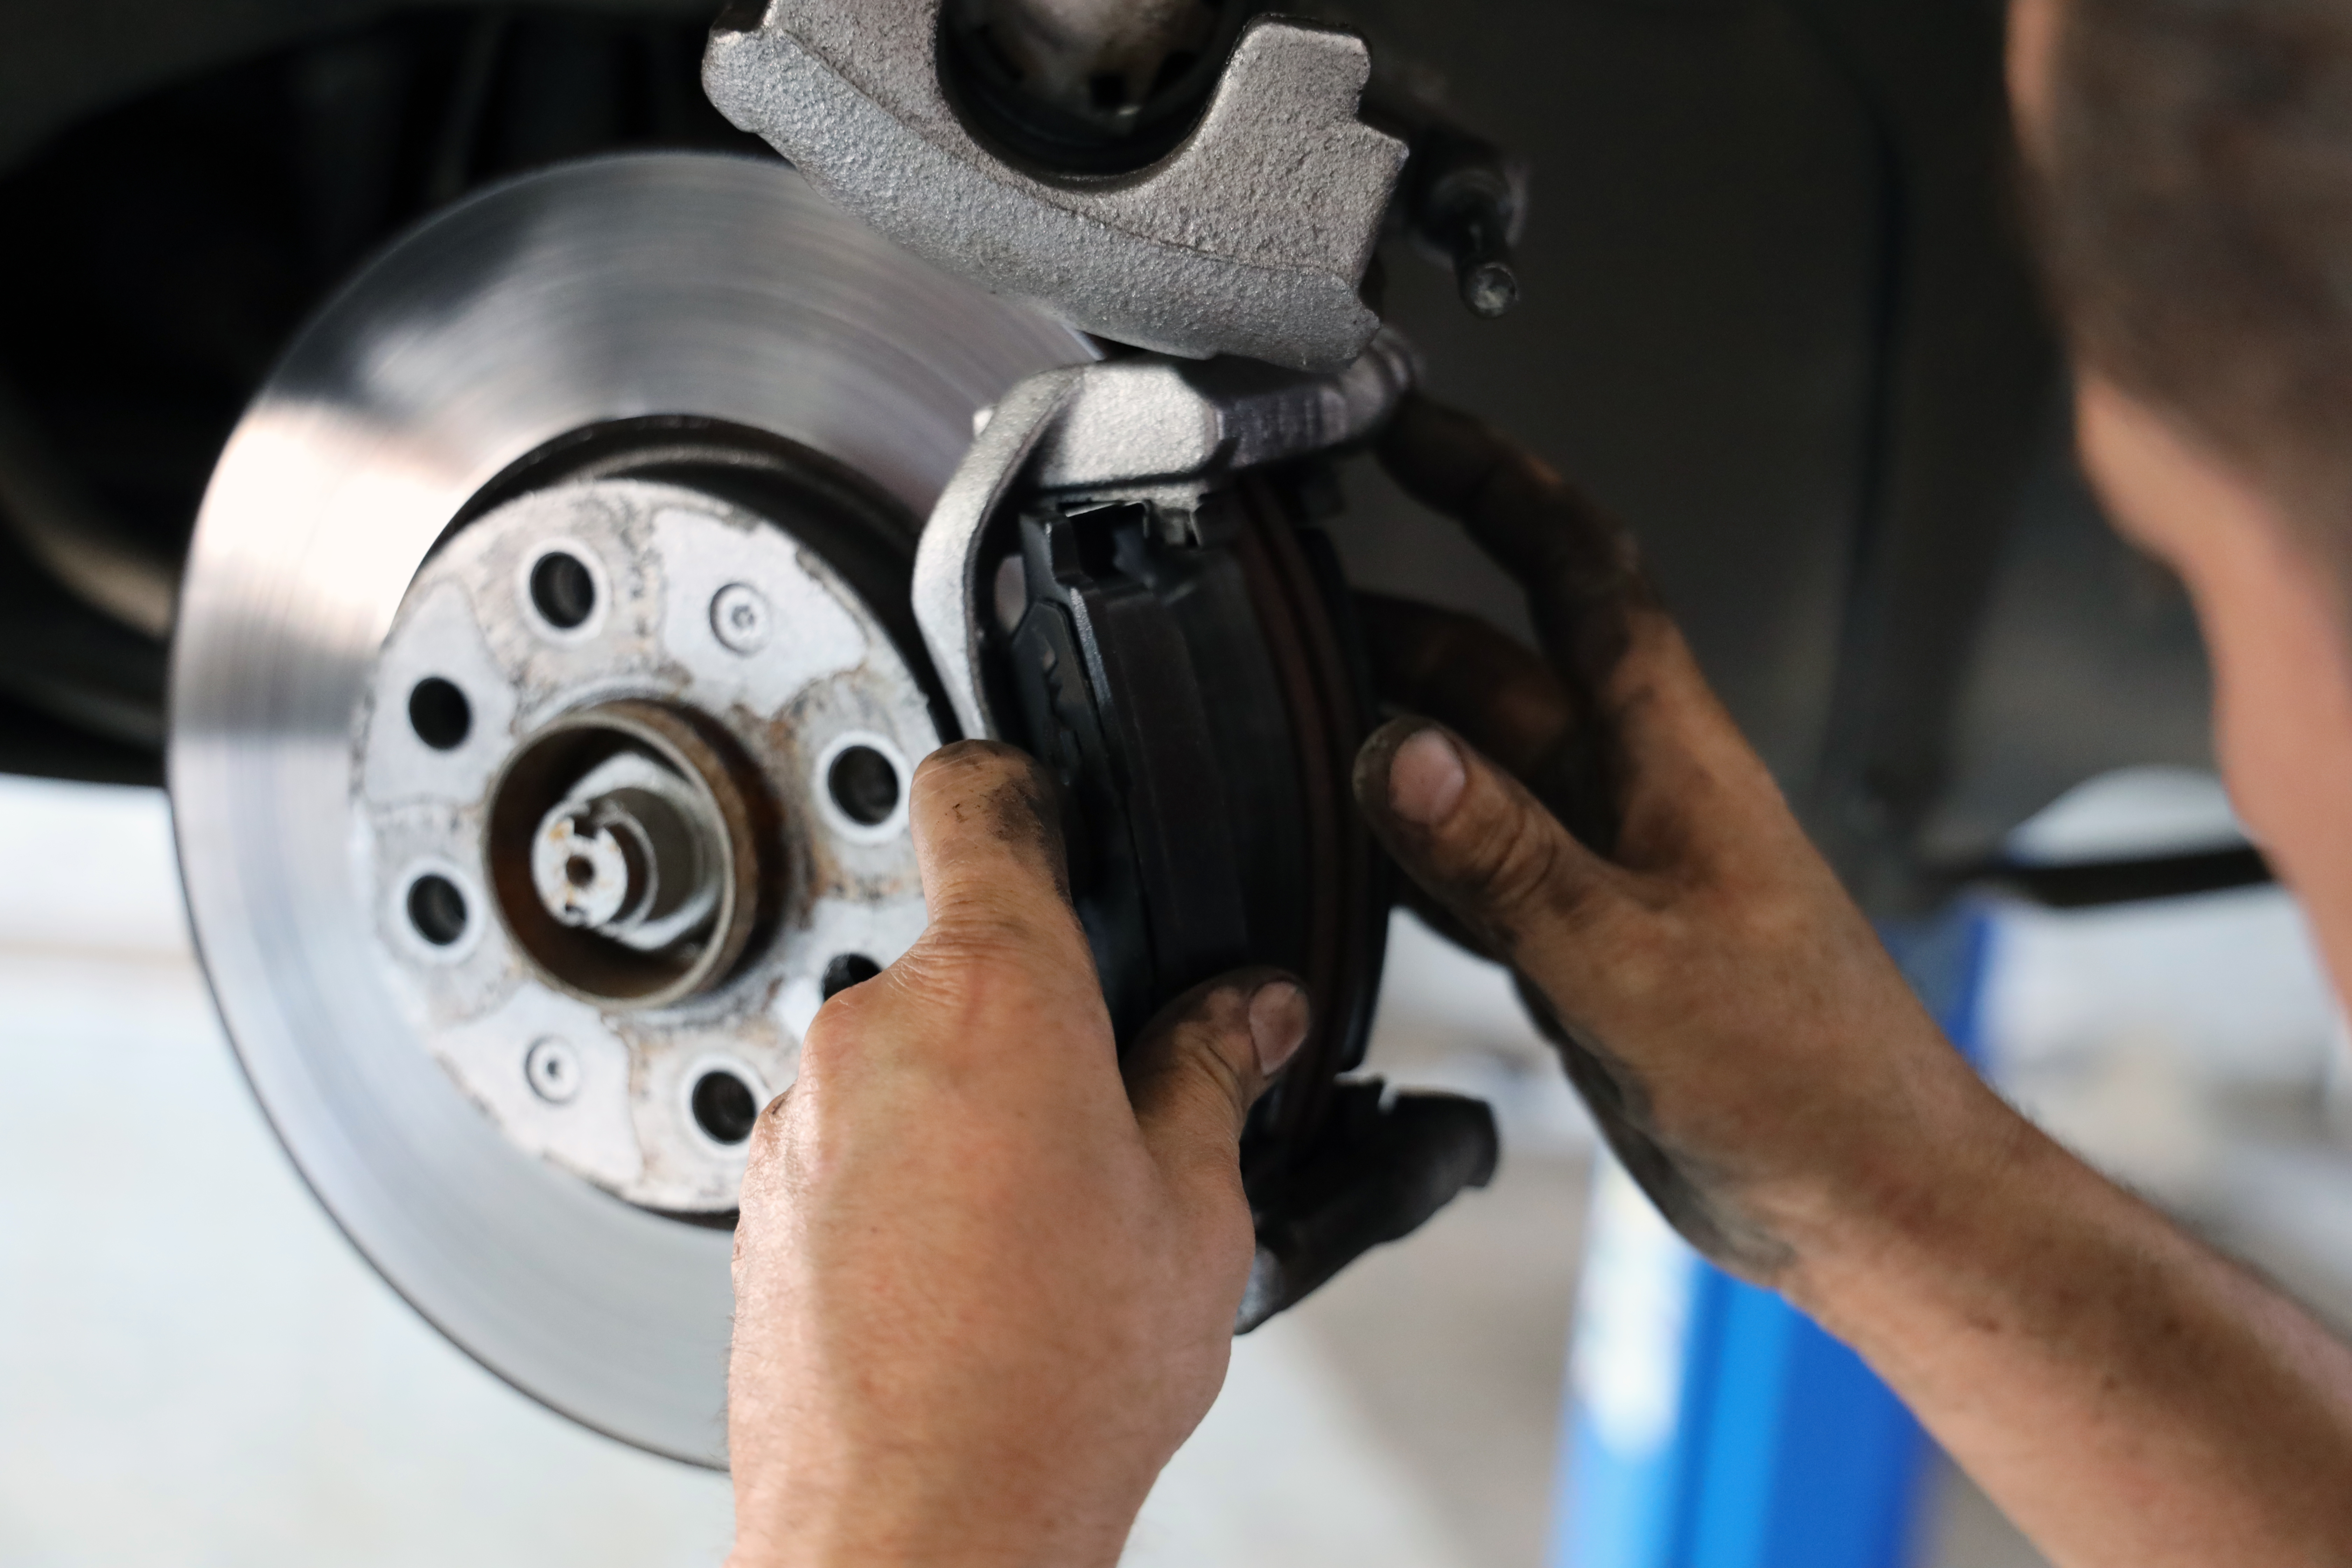
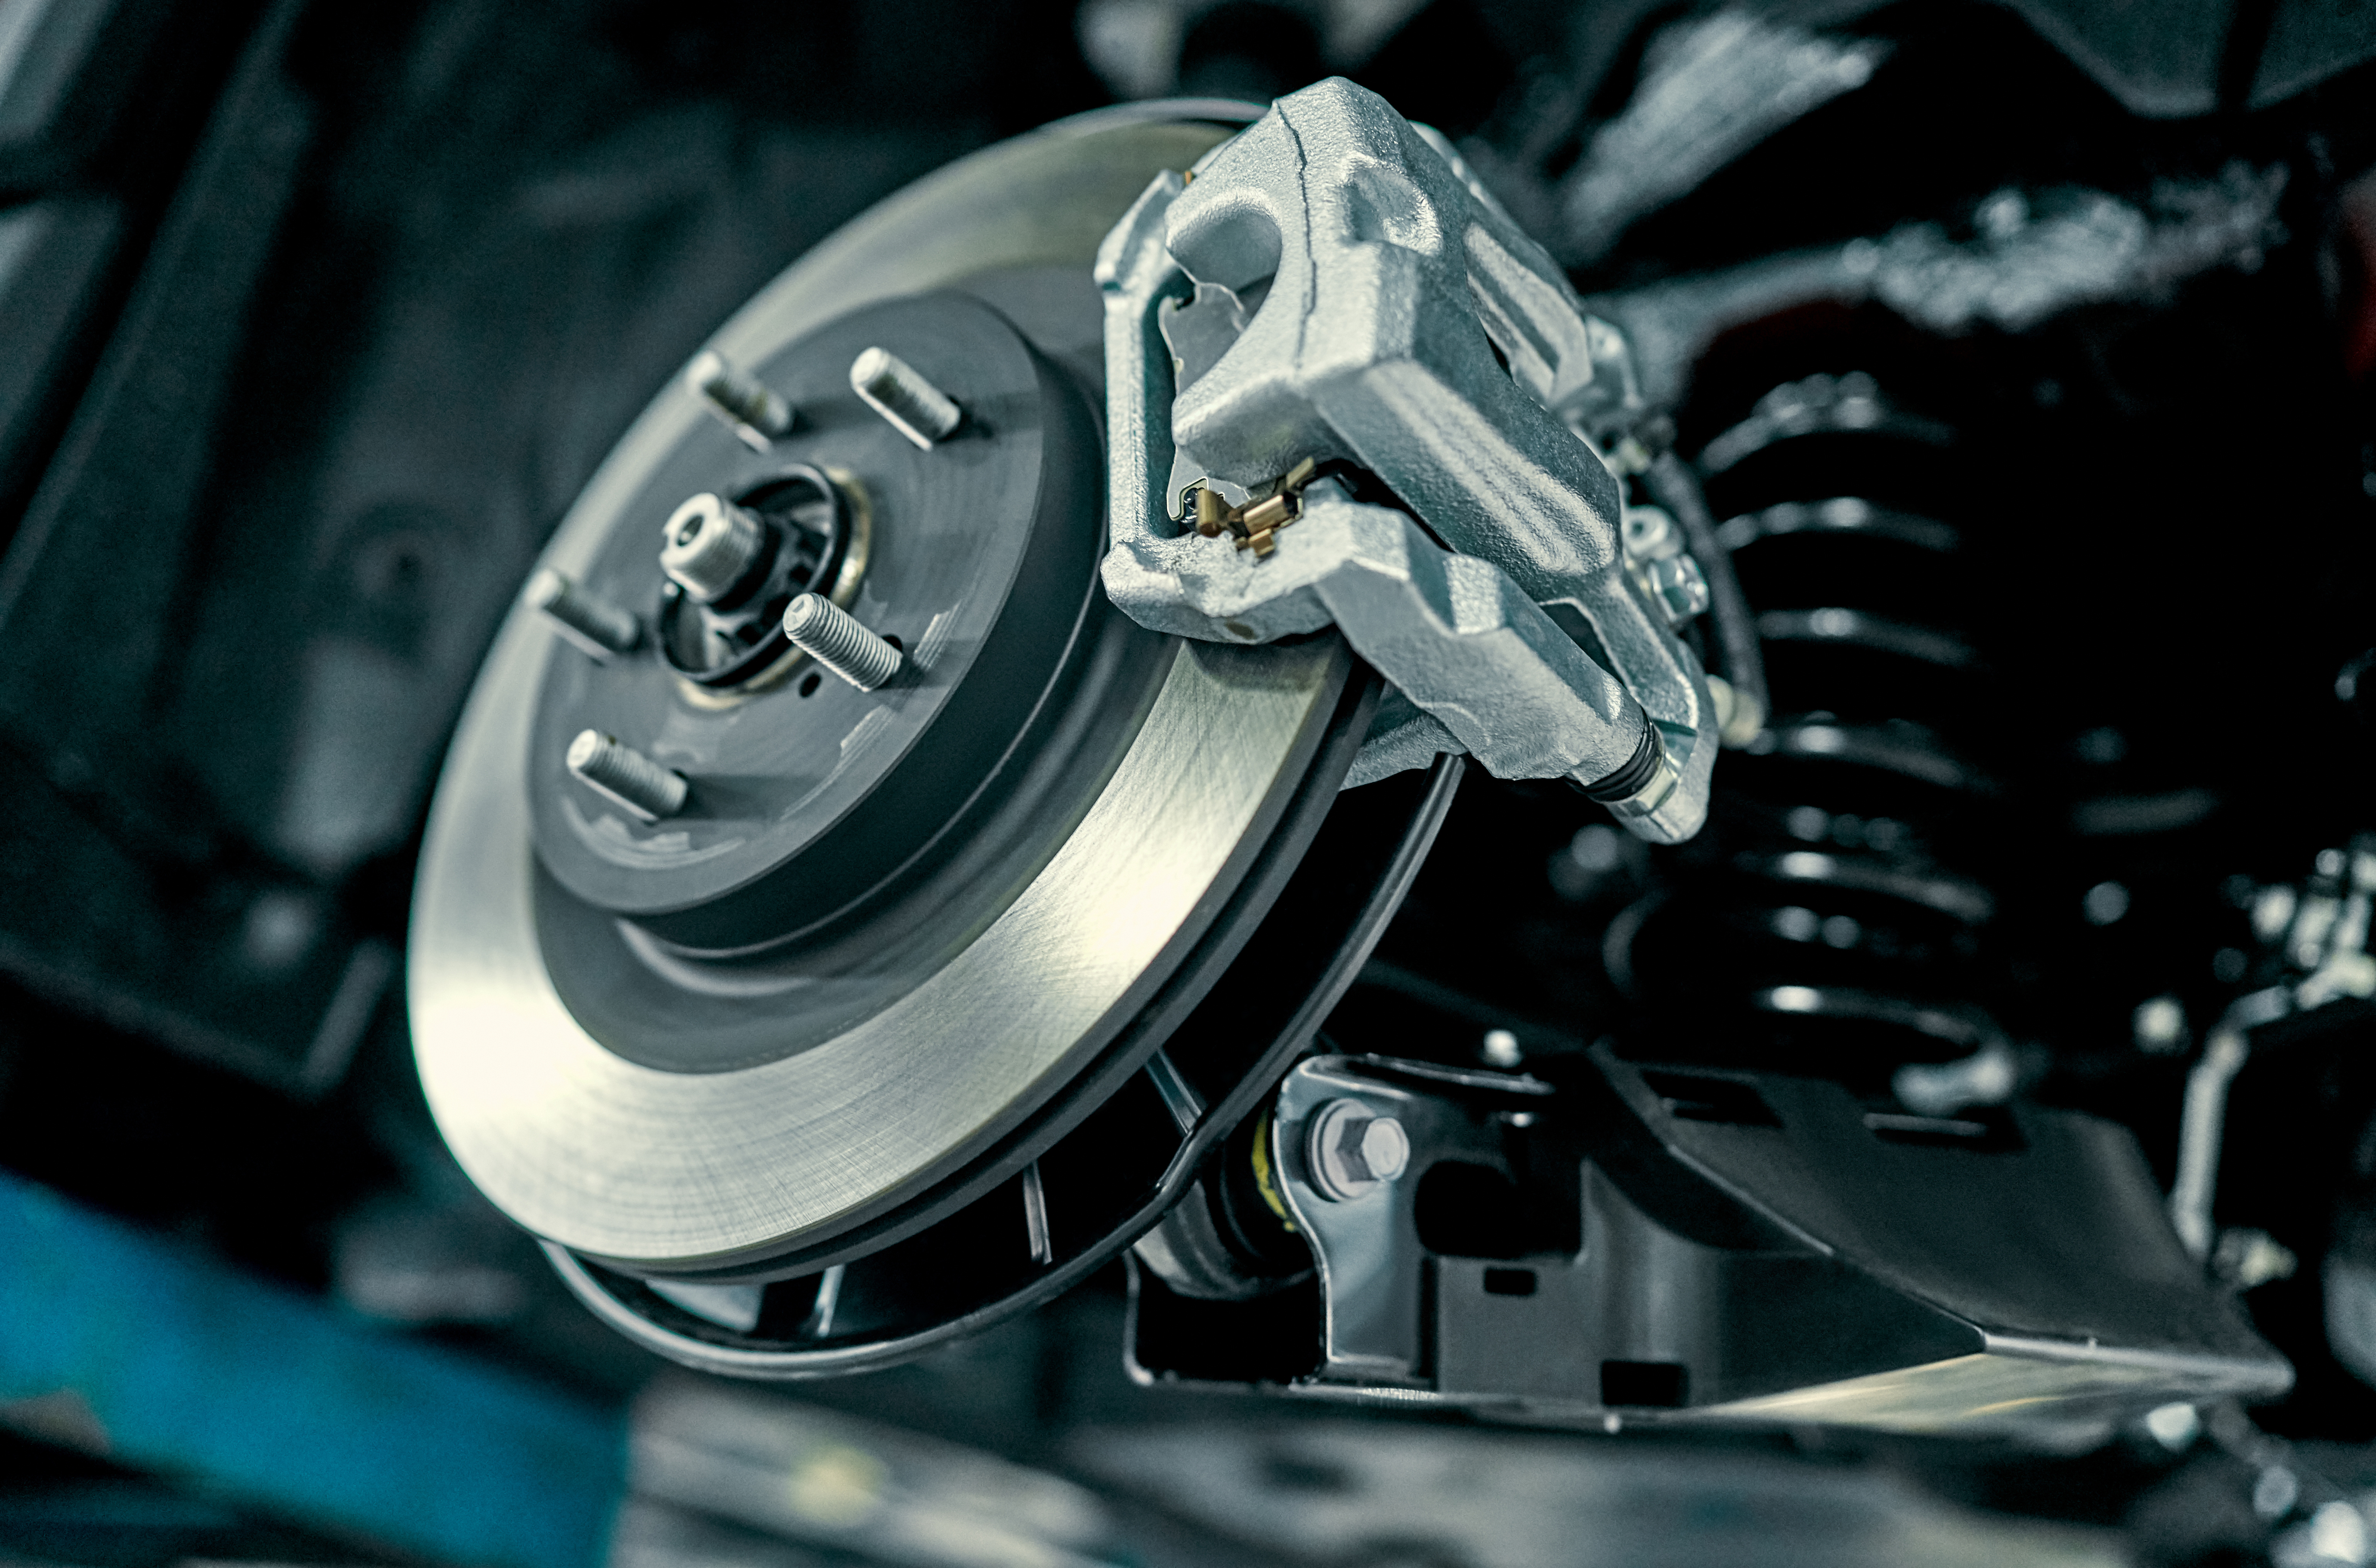
Throughout this article, we'll guide you through the process of replacing your brake pads, step-by-step. We'll cover the tools and materials you'll need, how to remove your old brake pads, how to install the new ones, and finally, how to test and perform any final checks. By the end of this article, you'll have all the information you need to replace your brake pads with ease. Check out our latest blog posts that guide you through car insurance, house insurance, and tips and tricks to maintain your car! Before starting the process of replacing your brake pads, it's essential to gather all the required tools and materials. Here are the items you will need: New Brake Pads - Make sure you purchase the correct brake pads for your vehicle make and model. Jack - You will need to jack up your car to remove the old brake pads. Jack Stands - These will provide support to your car while you work on it. Lug Wrench - To remove the lug nuts on your wheels. C-Clamp - To compress the brake caliper piston back into its housing. Socket Wrench - To remove any bolts or nuts that are holding parts in place. Torque Wrench - To tighten any bolts or nuts to their specified torque value. Brake Cleaner - To clean your braking system parts before installing new brake pads. High-Temperature Grease - To lubricate any parts as necessary to prevent them from sticking or squeaking. Gathering all the necessary tools and materials beforehand will save you time and ensure the process runs smoothly. Assemble them near your work area for easy access as you replace your brake pads. Don't know how to choose the right deductible for your auto insurance? We got you covered - check out our blog post on how to choose the right deductible for your auto insurance. Before you start removing the old brake pads, make sure your car is parked on a level surface and the emergency brake is engaged. Once you're ready, locate the brake caliper. It's usually a metal housing that fits over the brake rotor. Use a lug wrench to remove the wheel's lug nuts, then safely elevate the car using a jack and securely place the jack stands under the car. Remove the wheel to get access to the brake caliper and rotor. Inspect the brake caliper and look for any signs of damage, such as cracks or leaks. Then, use a socket wrench to remove the caliper bolts, which are located on the back of the caliper. Once you've removed the bolts, carefully lift the caliper off the rotor and position it on top of the rotor or hang it using a bungee cord. Next, remove the old brake pads from the caliper bracket. This may involve sliding them out or removing retaining clips or pins. Take note of the position and orientation of the old brake pads to ensure proper installation of the new ones. Once the old brake pads are removed, inspect the brake rotor for any signs of damage or wear. If the rotor has grooves or deep scoring, it may need to be replaced as well. Finally, use a C-clamp to compress the piston in the caliper back to its original position. This will make room for the new, thicker brake pads. Press the clamp against the piston and the back of the caliper, slowly turning the clamp until the piston is completely compressed. Interested in financing a car? Check out our latest blog post on a step-by-step process on how to begin financing a car. Now that the old brake pads have been removed, it's time to install the new ones. Start by applying a thin layer of high-temperature grease to the back of each pad. This will help reduce noise and prevent the brakes from sticking. Next, use a C-clamp to compress the brake piston back into its housing. This will create enough space to fit the new, thicker brake pads in place. Once the piston is compressed, slide the new pads into position. Make sure the pads are snugly in place and that all clips and springs are properly secured. Then, reattach the caliper by tightening the bolts to the manufacturer's recommended torque specifications using a torque wrench. Finally, pump the brakes a few times to ensure the new pads are in position and take up the slack. This will help you confirm that the brakes are working properly and smoothly. Now that you've installed the new brake pads, it's important to test them for optimal performance and complete the final steps. First, pump the brakes a few times to ensure the brake pads are in place and functioning properly. Next, take your car for a test drive in a safe, traffic-free area and gradually apply the brakes to make sure they respond appropriately. If you feel any vibrations or noises, it could indicate a problem that needs to be corrected. Once you've completed the test drive and ensured your new brake pads are working correctly, perform any necessary final steps. This may include tightening the wheel nuts to the manufacturer's recommended torque, putting the wheels back on, and lowering your car back to the ground. Additionally, make sure you dispose of the old brake pads properly, following local regulations. By following these final steps, you'll have peace of mind knowing your brake pads have been replaced correctly and your car's braking system is safe and efficient. Remember to consult your fiesta auto insurance policy for any specific requirements related to brake pad replacement. Replacing your brake pads is an important maintenance task that should never be overlooked. Regularly checking and replacing your brake pads can ensure the safety and efficiency of your car's braking system. By following the step-by-step guide provided in this article, you can confidently replace your brake pads and keep your vehicle in optimal condition. Don't forget to consult your Fiesta Auto Insurance policy for any specific requirements related to brake pad replacement. Proper brake pad maintenance not only ensures your safety on the road but can also help keep your insurance coverage valid. Remember, your brake pads play a vital role in the overall performance of your vehicle. Regular maintenance keeps them in good condition and can even extend the life of your car. So, make sure to schedule regular brake pad check-ups and replacements to keep your car running smoothly. Your safety is worth it!Tools and Materials Needed
Removing the Old Brake Pads
.jpeg)
Installing the New Brake Pads
Testing and Final Steps
Conclusion