English
Ventas 866-884-6015
One crucial aspect of car maintenance is regularly checking and changing the oil. The engine's lifeblood, motor oil, lubricates moving parts, reduces friction, cools the engine, and helps prevent corrosion. When neglected or not maintained properly, your vehicle's engine can suffer from increased wear and tear, reduced fuel efficiency, and even irreversible damage.
Maintaining the health of your vehicle is essential for its longevity and performance on the road. One crucial aspect of car maintenance is regularly checking and changing the oil. The engine's lifeblood, motor oil, lubricates moving parts, reduces friction, cools the engine, and helps prevent corrosion. When neglected or not maintained properly, your vehicle's engine can suffer from increased wear and tear, reduced fuel efficiency, and even irreversible damage.
Before getting started with checking your car's oil level, it is important to have a clear understanding of the frequency at which this task should be performed. Most mechanics recommend inspecting your oil levels at least once a month or every 1,000 miles driven. However, these guidelines may vary depending on factors such as your driving habits, the age of your vehicle, or specific manufacturer recommendations found in your car owner's manual. It is also worth noting that if you notice any unusual smells or smoke coming from under the hood or observe dark spots beneath your parked vehicle, these could be indications of an oil leak that requires immediate attention.
Now let's discuss how to check the oil level in your car. First and foremost, ensure that your vehicle is on a flat surface with the engine turned off for at least five minutes; this allows time for the oil to settle back into the pan so you can get an accurate reading. Open the hood and locate the dipstick - typically marked by a brightly colored handle (often yellow) near the engine block. Carefully remove it and wipe away any excess oil using a clean cloth or paper towel before reinserting it fully into its tube. Afterward, pull out the dipstick again and examine where the oily residue falls along its clearly marked indicators: ideally between "FULL" and "ADD" marks.
If you find that you need to add more oil to reach an appropriate level, make sure you're using an appropriate type for your vehicle (check your owner's manual for guidance). To add oil, locate the oil filler cap on top of the engine - this is often marked with an icon resembling an old-fashioned oil can or simply labeled "OIL." Unscrew the cap and use a funnel to help avoid spills as you pour in the recommended amount. It's crucial not to overfill, so add gradually and recheck the level using your dipstick after each addition. Once you've reached the proper level, securely replace both the oil filler cap and dipstick.
As for changing your car's oil, it is typically suggested that you do so every 3,000-5,000 miles or every three months - whichever comes first. However, advancements in synthetic oils have led manufacturers to recommend longer intervals between changes (upwards of 7,500 miles) for some newer vehicles. Always consult your owner's manual for specific guidelines tailored to your make and model. Regularly changing your oil ensures that any contaminants are removed from the engine before they build up and cause damage. Keep track of when you change your oil by marking down the date/mileage at which it was last completed; this will ensure you stay within recommended timeframes.
Although many people choose to hire professionals for their routine oil changes, doing it yourself can save money and provide a sense of accomplishment. Before taking on this task independently, gather necessary supplies such as gloves, rags or paper towels, new motor oil (refer to owner's manual), an appropriate wrench/socket set compatible with your vehicle's drain plug size, a catch pan or container for collecting waste oil, a new filter if needed (some prefer to change filters with each oil change), and possibly an automotive jack/stands if ground clearance is limited. Be sure to follow proper safety precautions by allowing your engine to cool completely before beginning work.
To begin the process of changing your car’s oil, place a catch pan or container beneath the oil drain plug. Loosen and remove the plug using a wrench or socket, taking care to avoid contact with hot surfaces. Allow the oil to fully drain into your catch pan before replacing the drain plug securely. Next, remove the old oil filter (if applicable) by twisting it counterclockwise; take note of any rubber gasket material that may be stuck to your engine's mounting surface as this will need to be removed for proper installation of your new filter. Lightly coat the rubber seal on your new filter with fresh motor oil and screw it into place until snug – but not overtightened, which can cause leaks or difficulty during future removals.
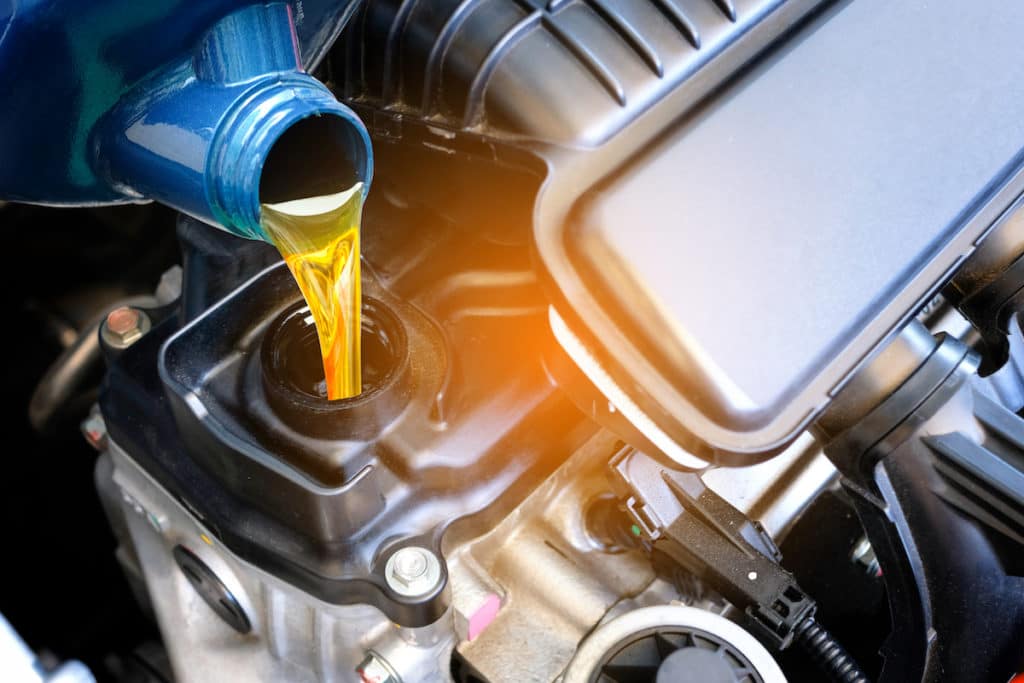
Finally, pour in new motor oil using a funnel inserted into the previously identified filler cap opening. Remember to add only enough oil until you reach appropriate levels per your dipstick reading. Once finished, dispose of waste materials responsibly by recycling used motor oil at an approved facility - many automotive shops offer this service for free or a nominal fee.
In summary, properly maintaining your vehicle's oil is essential to its performance and longevity. By regularly checking and changing your car’s oil according to manufacturer guidelines, you're ensuring a smoother ride while minimizing potential costly repairs down the road. Embracing DIY methods can save money and foster personal growth, but always prioritize safety precautions when working around potentially hazardous automotive components.
In conclusion, the importance of maintaining your vehicle's oil cannot be overstated. Regularly checking and changing the oil according to manufacturer guidelines not only ensures optimal performance but also helps prevent costly repairs in the future. While taking a DIY approach can save money and provide personal satisfaction, it is crucial to follow safety measures and dispose of waste materials responsibly. By staying vigilant about your car's oil maintenance, you're investing in its overall health and longevity, guaranteeing a smoother ride for years to come.